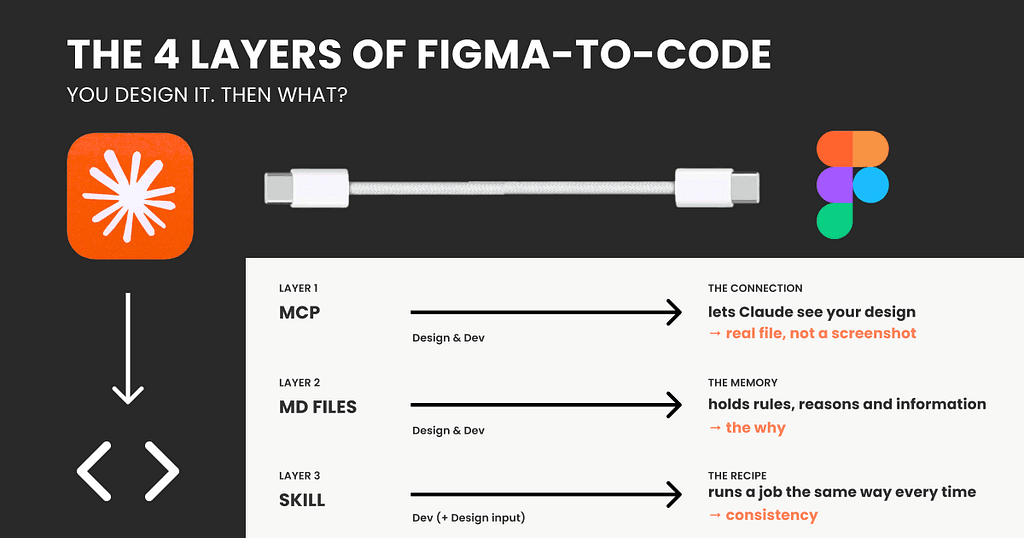
The Figma-to-code AI pipeline is not one tool. It is a stack of at least three separate layers, and most tutorials show you only one. This article by a UX Collective contributor maps all of them in plain language: the MCP connection layer, the markdown memory layer, and the component system layer that sits underneath both.
The MCP, Model Context Protocol, acts as a USB-C standard for plugging Claude into external tools. With the Figma MCP active, Claude reads your actual file, exact colors, spacing, fonts, component structure, instead of inferring from a pasted screenshot. But it cannot see your existing codebase. It will rebuild a button from scratch every time, matching your pixels but ignoring your real reusable component. That gap is what the second layer addresses. A CLAUDE.md file is plain text you write once, stored in your project folder, that Claude reads automatically on every session. It carries the rules that never appear on the canvas: which button hierarchy to use, which breakpoints are sacred, why certain decisions were made. The article links to real examples at github.com/voltagent/awesome-design-md, including an Airbnb DESIGN.md, which makes the abstract concrete fast.
The reason to read the full piece is not the conclusion. It is the explanation of what each layer cannot do, spelled out one by one. The author is precise about where each tool breaks down and why stacking them partially solves a problem that no single demo ever shows you hitting. If you have watched a Figma-to-code demo work perfectly and then watched your own project fail, this is the diagnostic you were missing.
[READ ORIGINAL →]